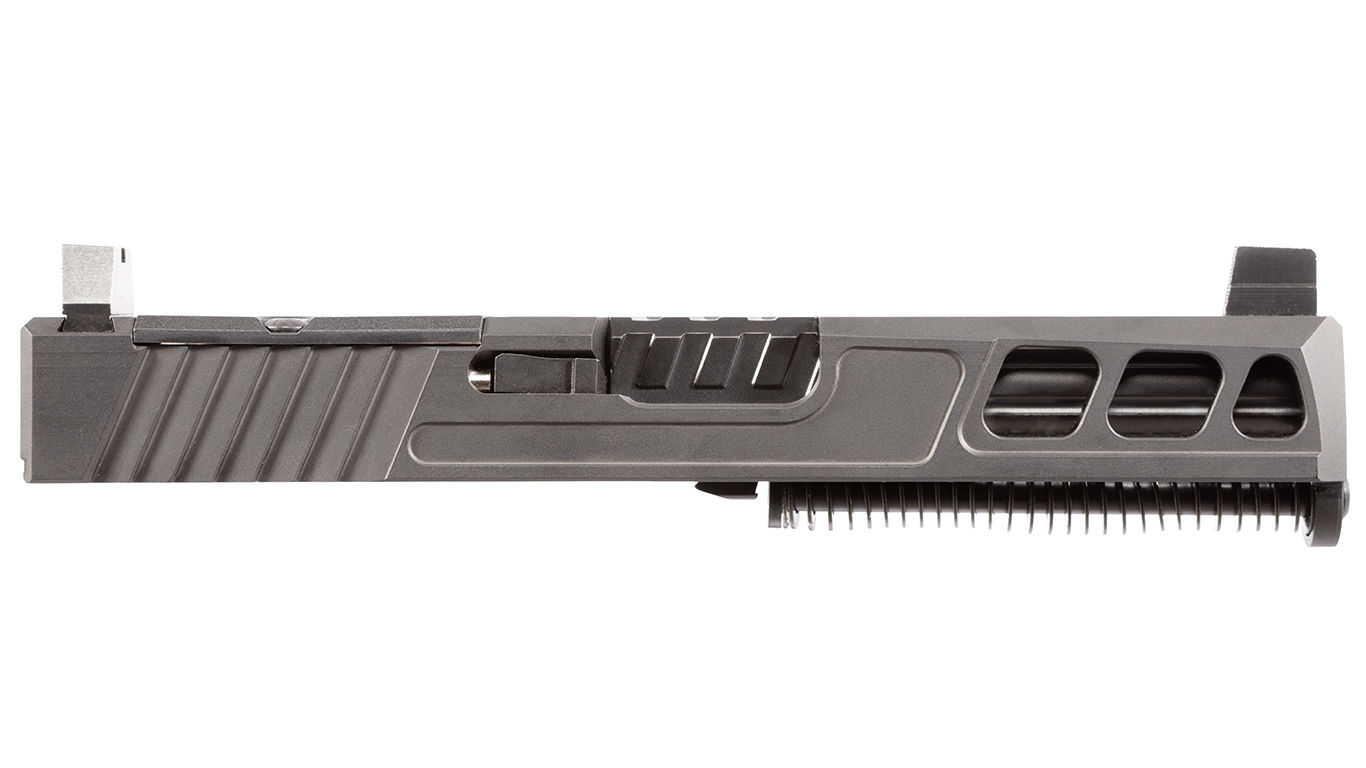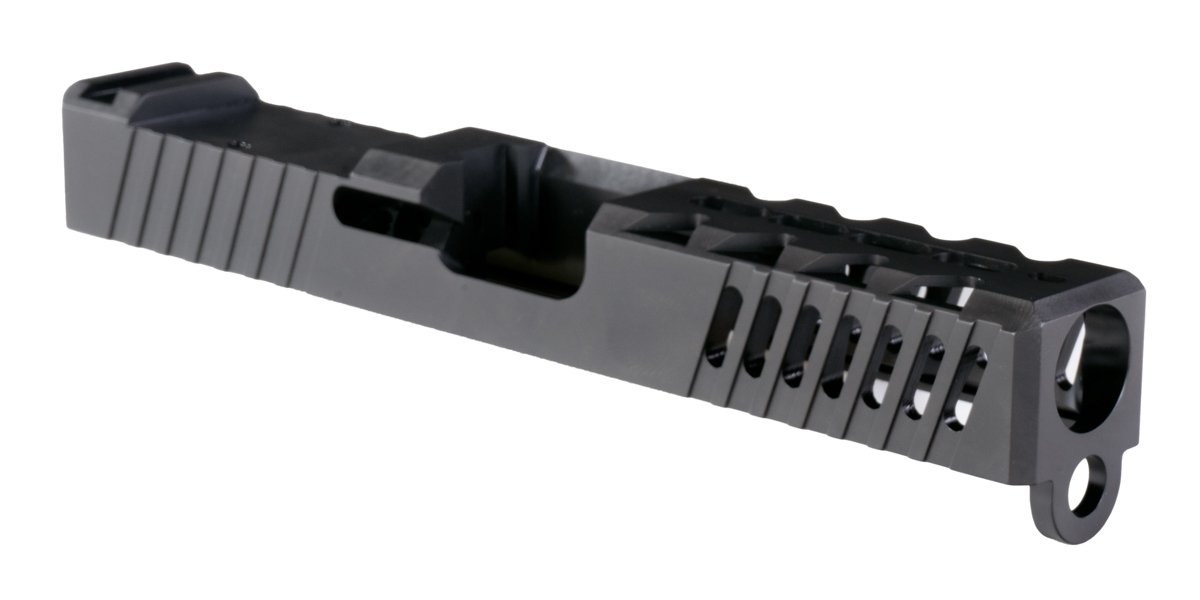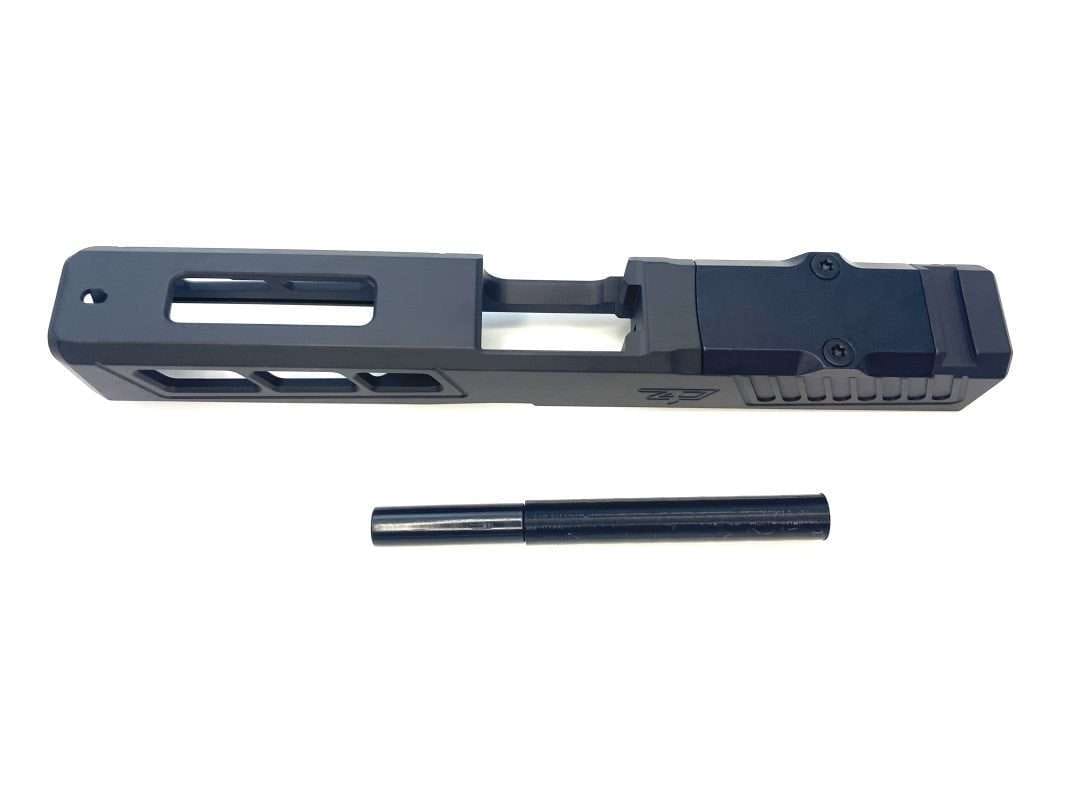
Assembling a slide
Channel Liner Installation
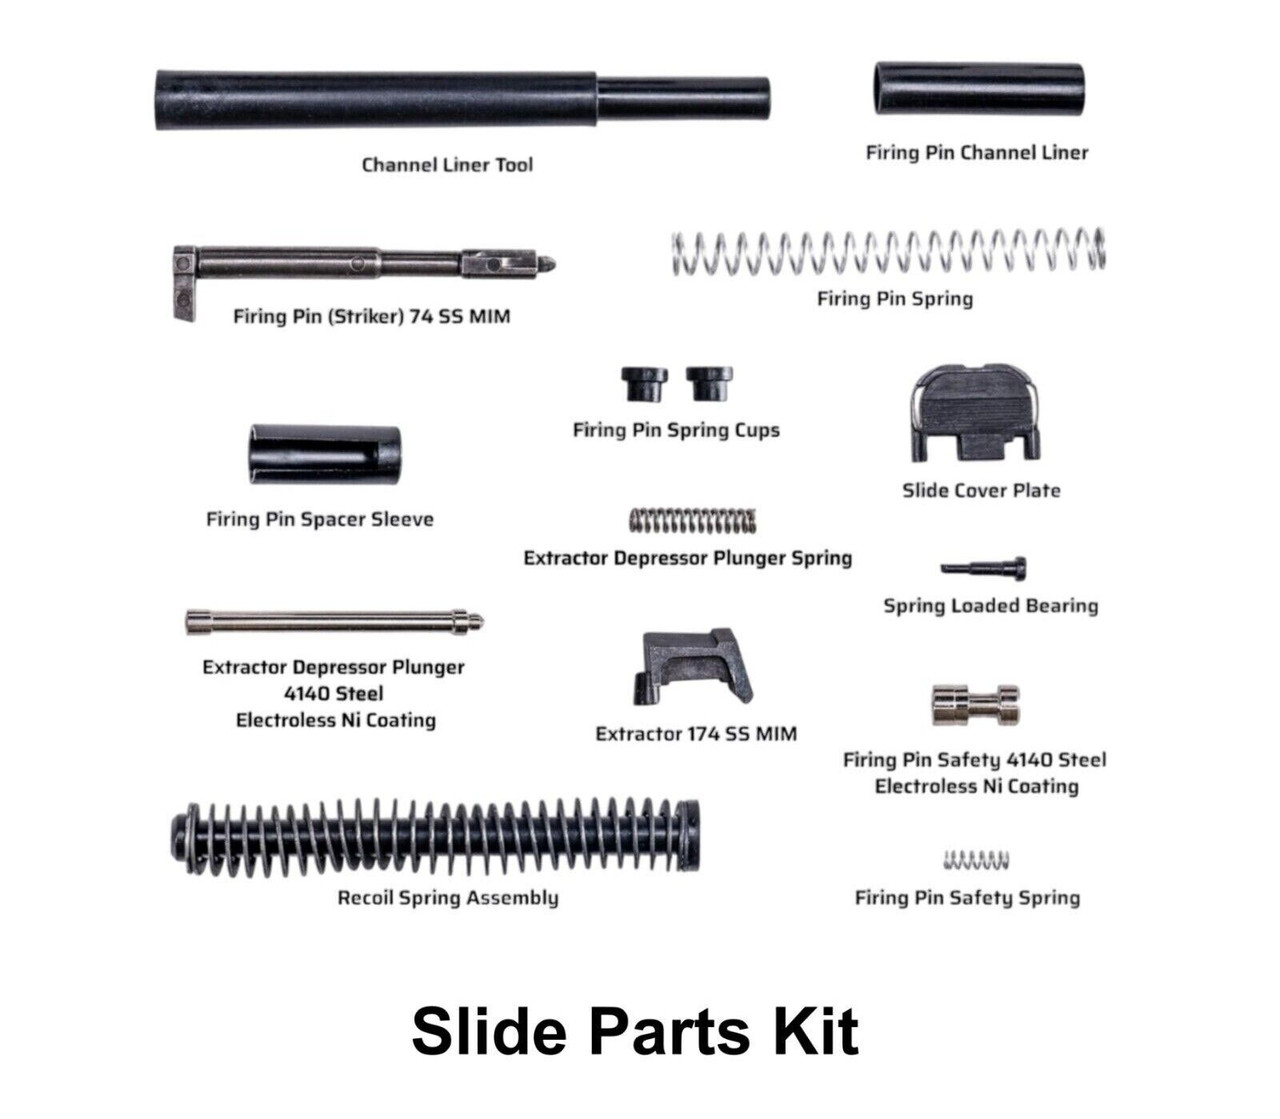
OEM Glocks & aftermarket Glock style firearms contain a cylindrically shaped, polymer tube referred to as the channel liner. The channel liner is located inside the slide’s striker channel, the channel liners job is to prevent metal on metal contact between the striker (firing pin) and slide.
If you plan to have your Glock Cerakoted (OEM or aftermarket) the channel liner will need to be removed and also reinstalled. Contact now for assembling a slide.
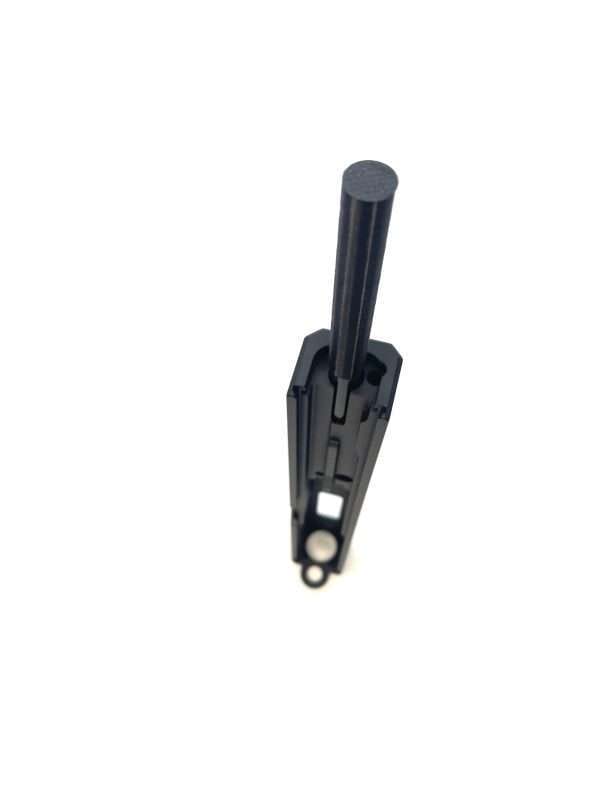
To install a new channel liner, insert it into the slide with the beveled end facing down. A tight fit will prevent it from going in easily. (Highly recommend using a channel liner tool when working with channel liners). Keep in mind the channel liner is made of thin polymer that will bend, rip and/or tear very easily, try not to use the strength of a turbocharged V8 and also Thor’s hammer to install one, it will more than likely end up with you ordering another channel liner. Now if you do happen to need an extra channel liner, don’t stress Aim Arms sells them.
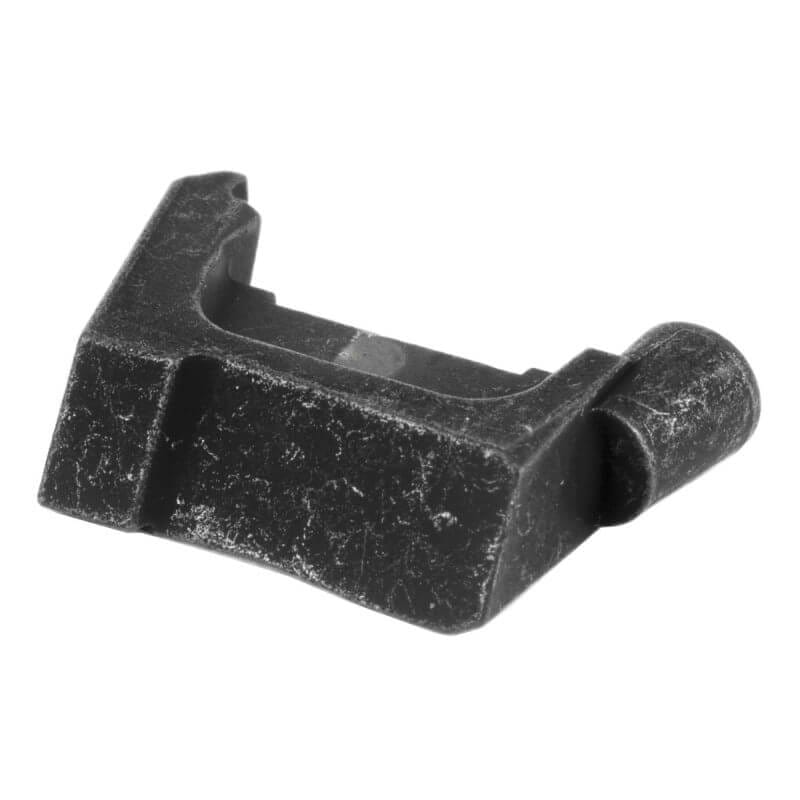
Remember the correct process for a Gen 3 Glock slide is:
1. Channel liner
2. Safety Plunger
3. Striker assembly
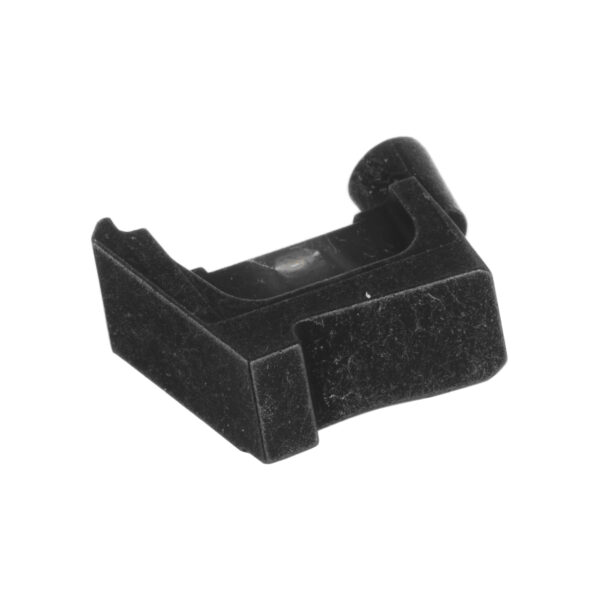
4. Extractor
5. Extractor Plunger/ Spring Loaded Bearing
6. Backplate
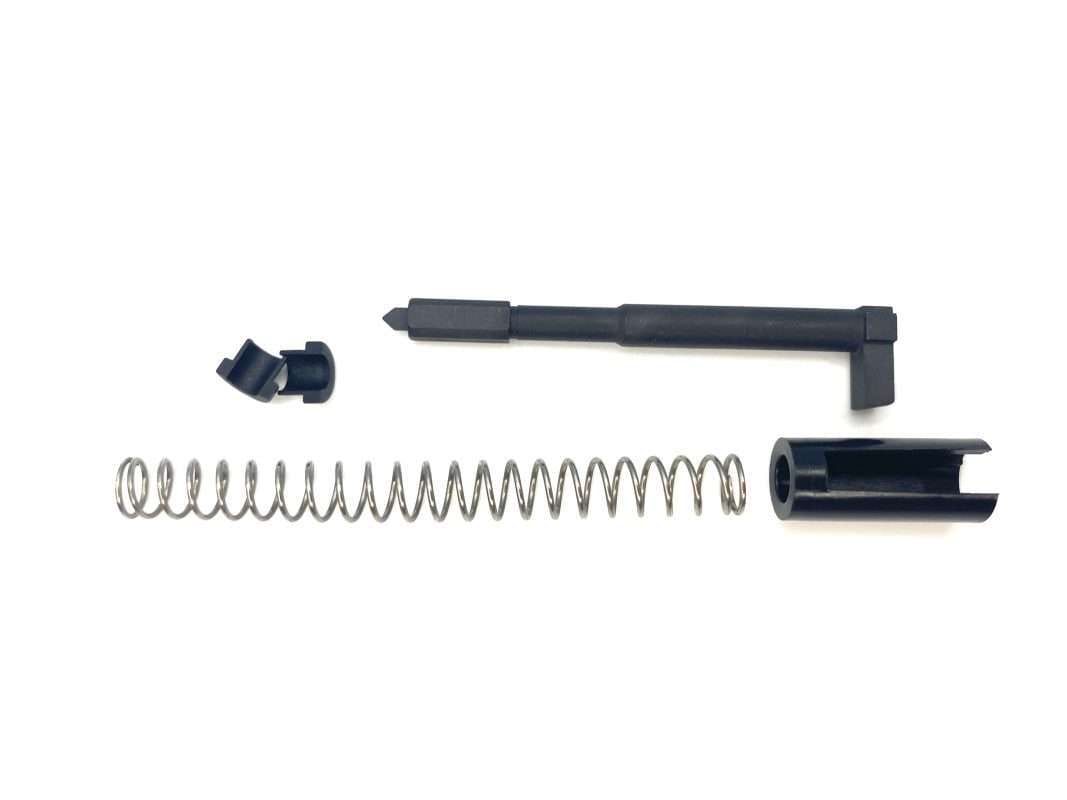
Unassembled Striker
When assembling the striker put the leg of the firing pin (striker) on the ledge of a flat surface (like a table), where you can pull the spring down far enough to place the firing pin cups under the side where the firing pin strikes the casing. Refer to the pictures below.
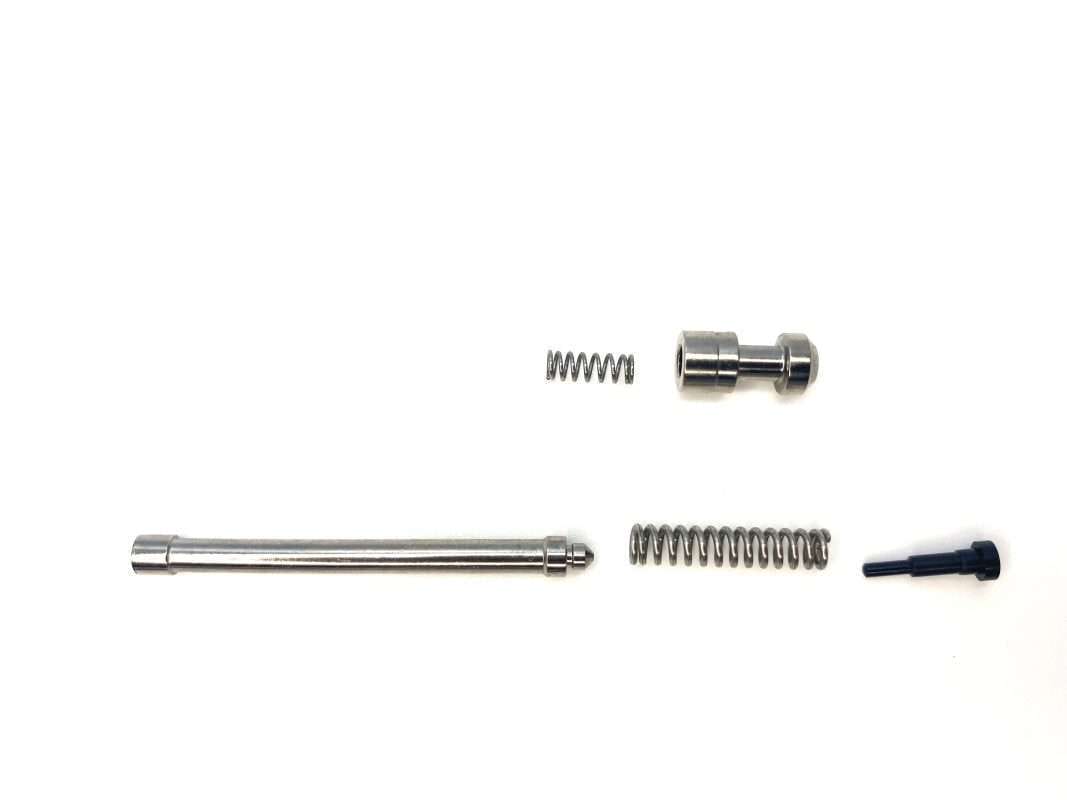
Unassembled Firing Pin Safety, Extractor Plunger/ Spring Loaded Bearing.
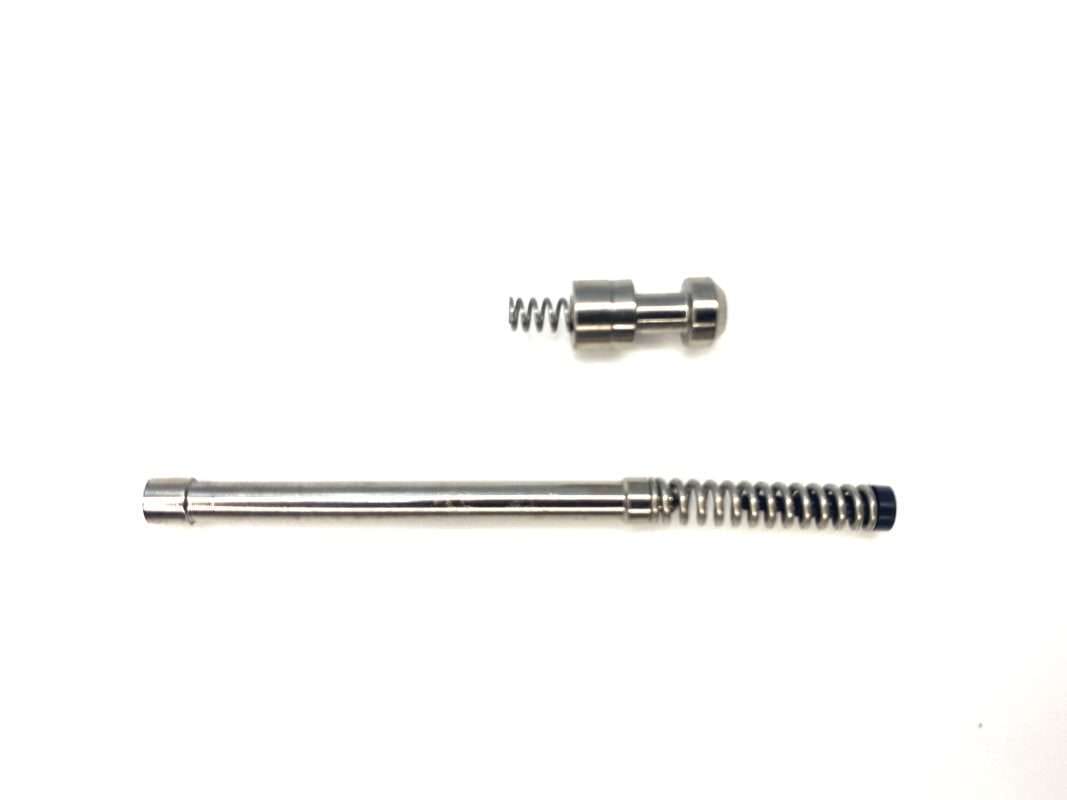
Assembled Firing Pin Safety, Extractor Plunger/ Spring Loaded Bearing.
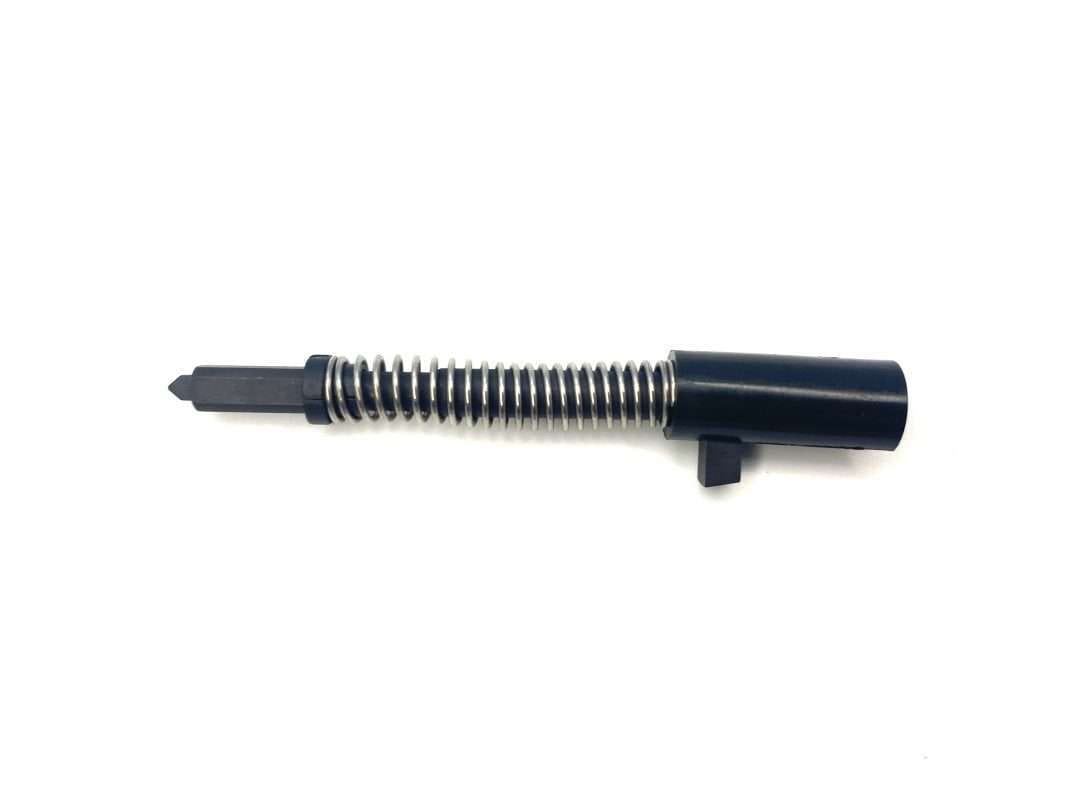
Striker-Assembly Installation
Assembled Striker
To install the striker assembly, place it certainly in the back of the slide where you installed the channel liner. Make sure the firing pin (leg) goes through where the spacer sleeve is, facing down.
Next, start sliding the Glock backplate over the depressed spacer sleeve while depressing the end of the striker spacer sleeve with a punch or Glock Tool until you push the cover plate far enough over the sleeve. The pressure of the sleeve will keep the backplate in place so you can start installing the extractor plunger/ spring loaded bearing.
Finally, repeat the process, this time depressing the extractor plunger/ spring loaded bearing until the cover plate snaps into place and is fully seated.
To test the placement of the striker, use a Glock tool/ punch and also your fingers to move the striker back and forth in the slide. If it’s difficult to move the firing pin while pressing the safety plunger and spring down, it is possible you have a burr or may have installed something incorrectly. If this happens; depress the spacer sleeve down, remove the backplate, and repeat the process.

