How to Replace the Glock OEM Trigger Housing Pin (SP33218) on 42 / 43 / 43X / 48. The Glock trigger housing pin is a critical component in the overall functionality and reliability of Glock pistols. This small yet essential pin serves to secure the trigger housing within the frame of the firearm, ensuring that all associated components operate smoothly and effectively. The integrity of the trigger housing pin is paramount, as it directly influences the trigger mechanism’s performance, which is vital for safe and accurate shooting.
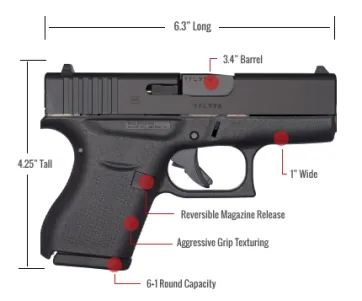
A malfunctioning or improperly installed trigger housing pin can lead to a range of issues, from misfires to complete failure of the trigger system, making it imperative for firearm owners to understand its role and maintenance. The Glock models 42, 43, 43X, and 48 are particularly relevant when discussing the trigger housing pin, as they share similar design features that necessitate a thorough understanding of this component. The Glock 42 is a subcompact .380 ACP pistol, while the Glock 43 is a single-stack 9mm handgun.
The Glock 43X and 48 are slightly larger, offering enhanced capacity and ergonomics without sacrificing concealability. Each of these models utilizes a trigger housing pin that is specifically designed to fit their unique frames and trigger mechanisms. Understanding how to identify, replace, and maintain this pin is essential for owners of these popular Glock models.
Key Takeaways
- The Glock trigger housing pin is a crucial component for the functioning of the firearm, and it is specific to models 42, 43, 43X, and 48.
- Identifying the trigger housing pin involves locating it on the Glock and understanding its appearance in comparison to other components.
- Replacing the trigger housing pin requires specific tools and materials, and recommendations for brands or types of tools are provided.
- Removing the old trigger housing pin should be done carefully to avoid damaging the firearm, and detailed instructions are given for this process.
- Installing the new trigger housing pin involves a step-by-step guide and common mistakes to avoid during the installation process.
Identifying the Trigger Housing Pin
Locating the trigger housing pin on your Glock 42, 43, 43X, or 48 is a straightforward process, but it requires careful attention to detail. To begin, ensure that your firearm is unloaded and pointed in a safe direction. Remove the magazine and visually inspect the chamber to confirm that no ammunition is present.
Once you have verified that the firearm is safe to handle, you can proceed to disassemble it for better access to the trigger housing area. To locate the trigger housing pin, first remove the slide by pulling back on the slide lock while simultaneously pushing the slide forward off the frame. With the slide removed, you will have a clear view of the frame’s interior.
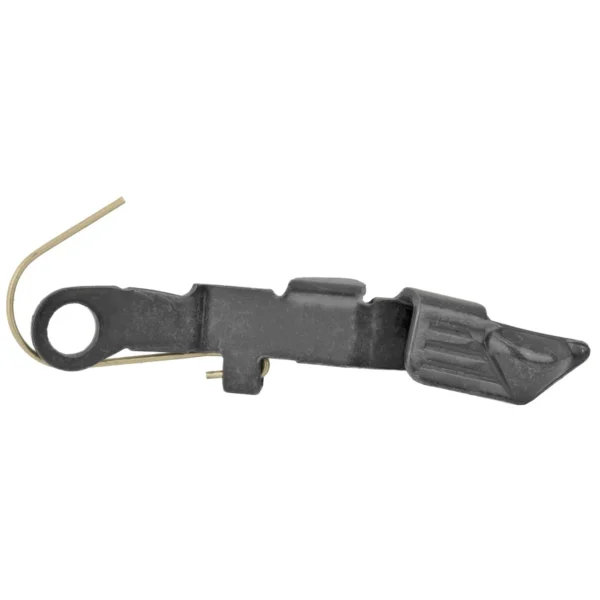
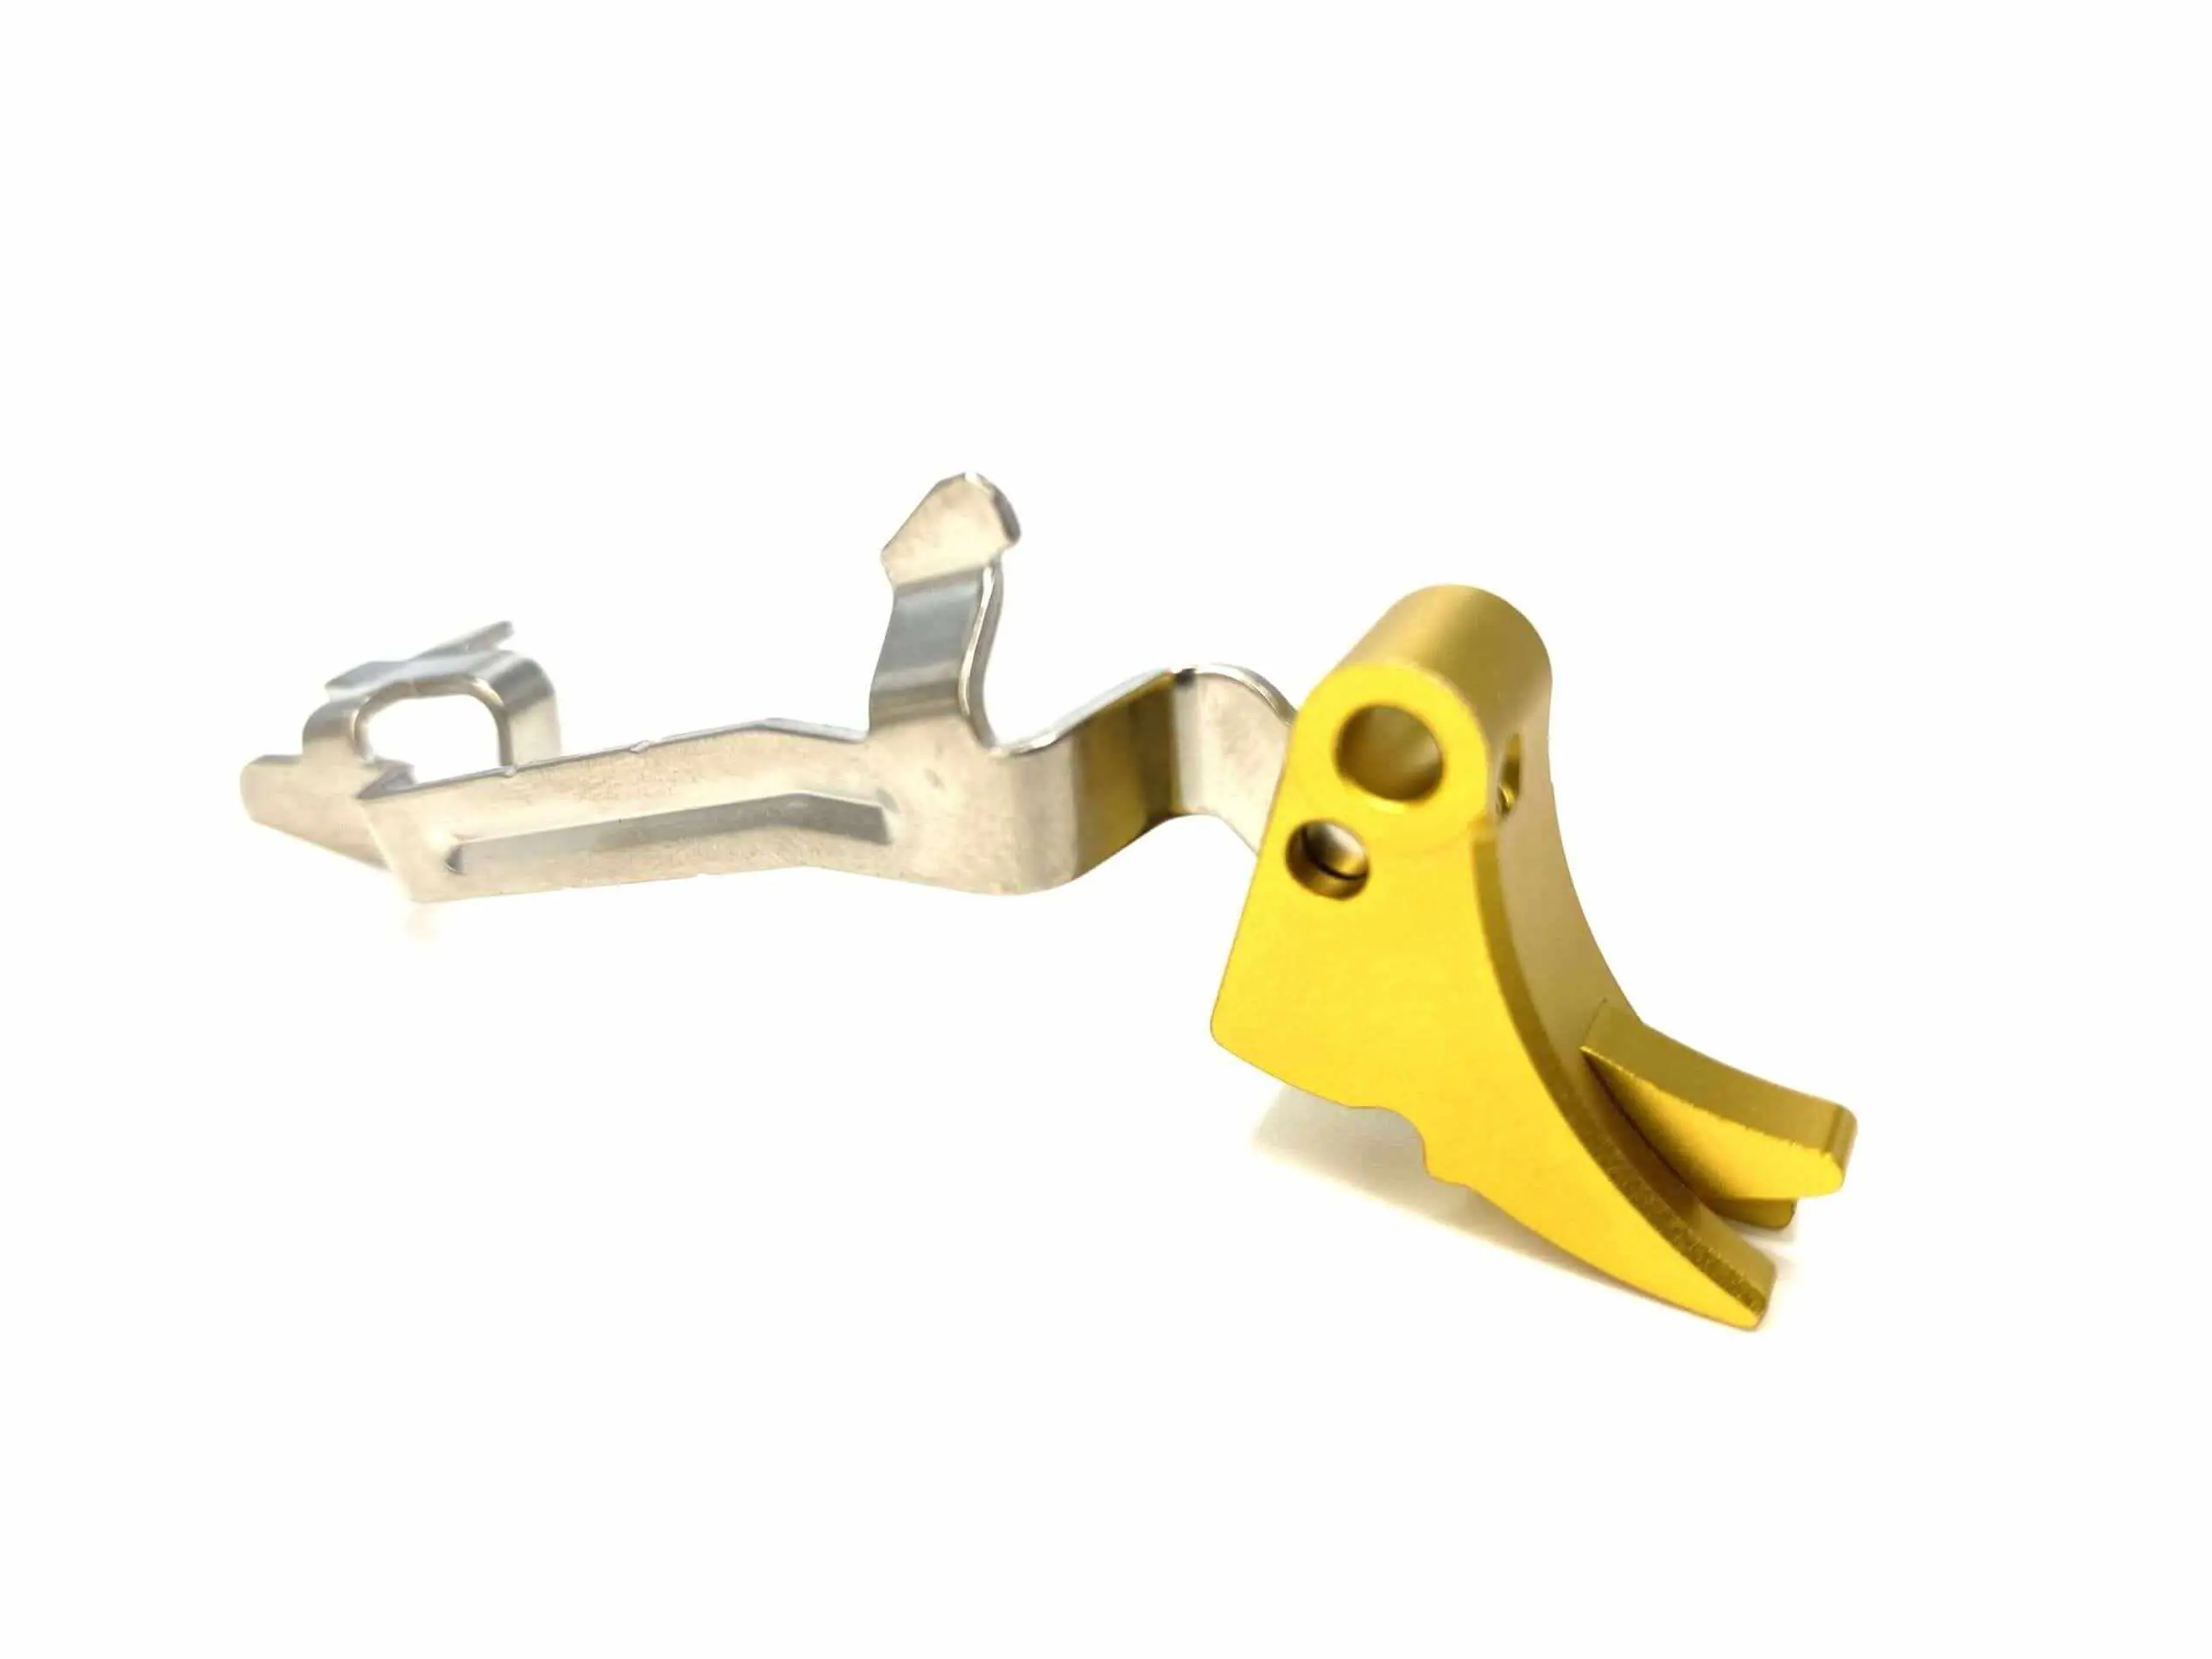
The trigger housing pin is situated at the rear of the trigger housing assembly, which is located just above the trigger itself. It appears as a small cylindrical pin that runs horizontally through the frame. Unlike other components such as the trigger bar or connector, which may have more complex shapes or functions, the trigger housing pin is relatively simple in design and can be easily distinguished by its smooth surface and uniform diameter.
Tools and Materials Needed
How to Replace the Glock OEM Trigger Housing Pin (SP33218) on 42 / 43 / 43X / 48
Before embarking on the task of replacing the trigger housing pin, it is essential to gather all necessary tools and materials to ensure a smooth process. The primary tools required for this job include a punch tool or a small hammer, which will be used to drive out the old pin. A set of precision screwdrivers may also be helpful for any additional disassembly required during the process.
Additionally, having a pair of needle-nose pliers on hand can assist in gripping and maneuvering small components. When selecting tools, it is advisable to choose high-quality brands known for their durability and precision. For example, brands like Wheeler Engineering or Brownells offer specialized gunsmithing tools that are well-suited for tasks involving small firearm components.
A brass punch is often recommended over steel to minimize the risk of damaging surrounding parts during removal or installation. Furthermore, having a clean workspace with adequate lighting will facilitate better visibility and control while working on your Glock.
Removing the Old Trigger Housing Pin
Removing the old trigger housing pin from your Glock requires careful execution to avoid damaging any surrounding components. Begin by ensuring that your workspace is organized and free from distractions. With your tools ready, you can start by gently tapping on one end of the trigger housing pin using your punch tool or hammer.
It’s important to apply even pressure to avoid bending or breaking the pin during removal. As you drive out the pin, be mindful of its orientation and how it fits into the frame. Once it begins to move, you can use your fingers or pliers to pull it out completely.
If you encounter resistance, double-check that there are no other components obstructing its path. It’s crucial to handle this process with care; excessive force can lead to damage not only to the pin but also to the frame itself. After successfully removing the old pin, inspect it for wear or deformation before proceeding with installation of a new one.
Installing the New Trigger Housing Pin
Installing a new trigger housing pin involves a similar approach to removal but requires additional attention to detail to ensure proper alignment and function. Begin by taking your new trigger housing pin and inspecting it for any defects or irregularities before installation. Once you have confirmed that it is in good condition, position it in line with the holes in the trigger housing assembly.
Using your punch tool or hammer, gently tap one end of the new pin into place while ensuring that it remains aligned with both sides of the frame. It’s important not to force it in too quickly; instead, take your time to ensure that it seats evenly without any misalignment. A common mistake during installation is failing to fully seat the pin, which can lead to malfunctioning triggers or unintended movement within the housing assembly.
After installation, double-check that both ends of the pin are flush with the frame and that there are no gaps or protrusions.
Testing the Trigger Housing Pin
How to Replace the Glock OEM Trigger Housing Pin (SP33218) on 42 / 43 / 43X / 48
Once you have installed the new trigger housing pin, it is essential to test its functionality before considering your work complete. Begin by reassembling your Glock by sliding the upper assembly back onto the frame until it locks into place securely. After reassembly, perform a function check by pulling back on the slide and releasing it to ensure that everything operates smoothly.
Next, check the trigger’s functionality by pulling it back and observing its reset action. The trigger should move freely without any binding or excessive resistance. If you notice any irregularities during this process—such as a gritty feel or failure to reset—this may indicate an issue with either the installation of the new pin or other components within the trigger assembly.
In such cases, disassemble again and verify that everything is correctly aligned and seated.
Maintenance and Care Tips
To prolong the lifespan of your new trigger housing pin and ensure optimal performance of your Glock pistol, regular maintenance is crucial. One effective practice is to incorporate routine inspections into your cleaning regimen after each use or at least every few months if you do not shoot frequently. During these inspections, check for any signs of wear or corrosion on both the pin and surrounding components.
Cleaning should involve using appropriate solvents designed for firearms to remove any buildup of dirt or debris around the trigger assembly area. A soft brush can help dislodge particles without scratching surfaces. Additionally, applying a light coat of lubricant specifically formulated for firearms can help reduce friction and wear on moving parts, including the trigger housing pin itself.
By maintaining cleanliness and lubrication, you can significantly enhance both reliability and longevity.
Conclusion and Additional Resources
The importance of the trigger housing pin in Glock models 42, 43, 43X, and 48 cannot be overstated; it plays a vital role in ensuring safe and reliable operation of these firearms. Understanding how to replace this component properly not only enhances your knowledge as a firearm owner but also contributes to overall safety when handling your weapon. By following detailed steps for identification, removal, installation, testing, and maintenance of the trigger housing pin, you can ensure that your Glock remains in optimal working condition.
For those seeking further assistance or visual guidance on this process, numerous resources are available online. Websites such as YouTube feature instructional videos from experienced gunsmiths demonstrating each step in detail. Additionally, forums dedicated to Glock enthusiasts often provide valuable insights and tips from fellow owners who have undertaken similar tasks.
Engaging with these communities can enhance your understanding and confidence in maintaining your firearm effectively.
If you’re interested in learning how to replace the Glock OEM Trigger Housing Pin (SP33218) on models 42, 43, 43X, and 48, you might also find it beneficial to explore the various types of firearm coatings that can enhance the durability and performance of your Glock. Understanding these coatings can be crucial for maintaining your firearm after making modifications like trigger housing pin replacements. For more information on this topic, check out this related article on The Different Types of Firearms Coatings. This article provides insights into the benefits and applications of different coatings, which can be particularly useful for Glock owners looking to optimize their firearm’s longevity and functionality.